Create APIs on top of your Xano database
Once you have created a Database and filled in data, you should create APIs for your Database in Xano. There are two options to create Endpoints in Xano:
Default CRUD operations endpoints
Create custom API endpoints
1.1 Default CRUD operations endpoints
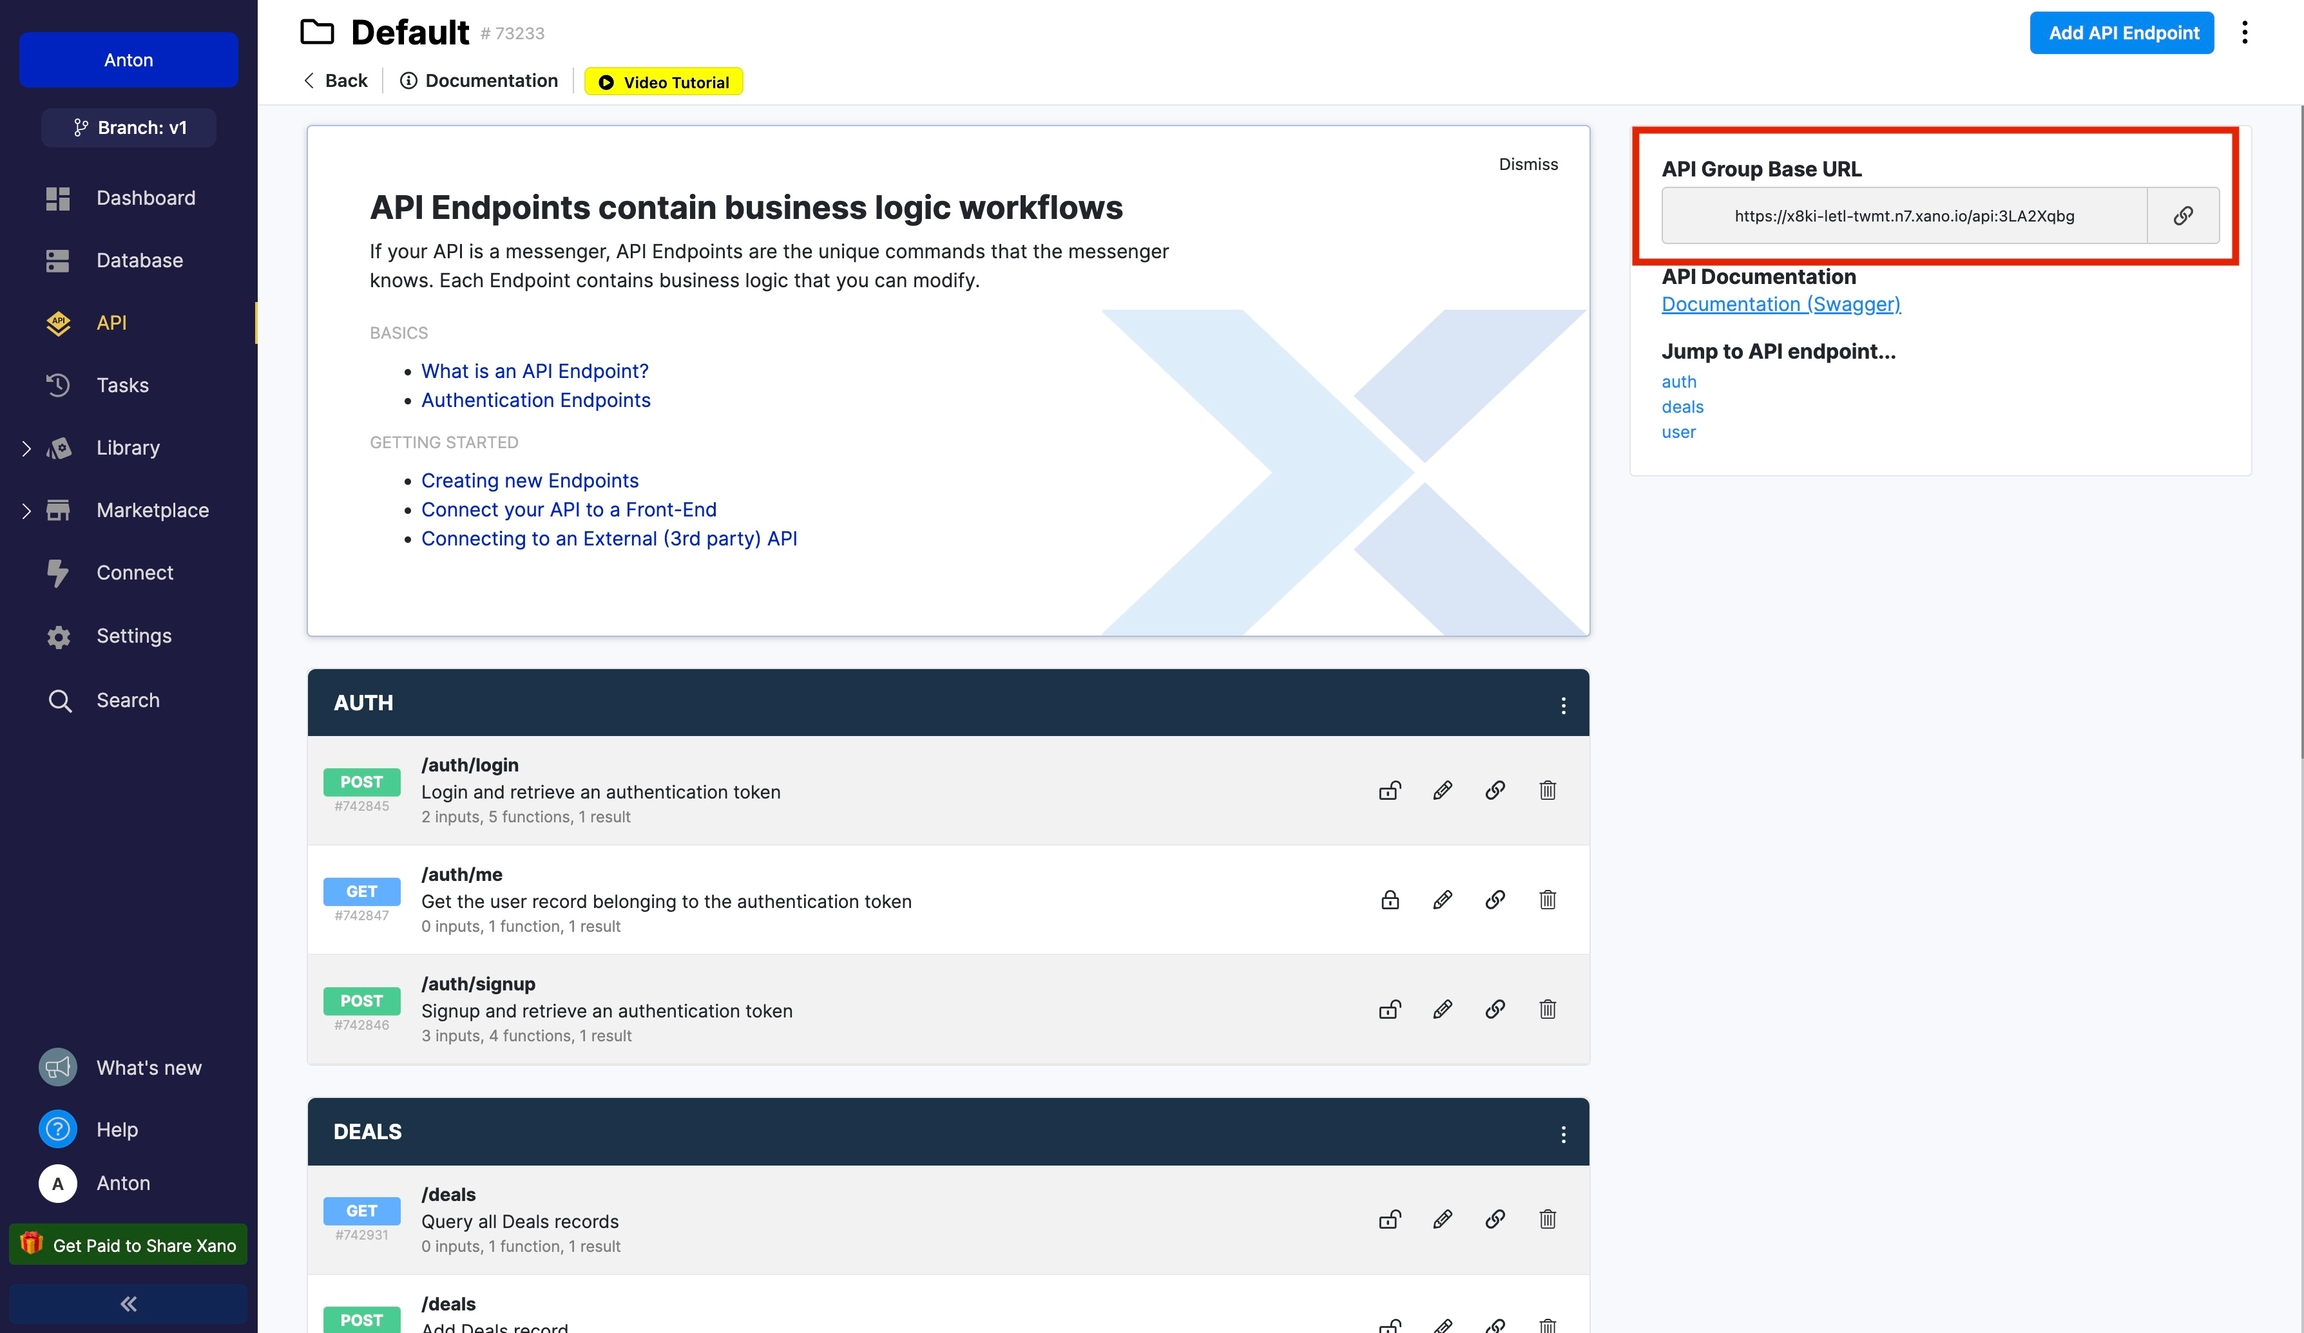
Use Default CRUD operations endpoints. Go to the API tab in Xano from the left menu and choose Default API Group and Copy API Group Base URL to your clipboard, and let’s head over to Jet Admin!

1.2 Create custom API endpoints
To successfully create custom API endpoints, mark all API endpoints: Specify the Description field for each API endpoint.
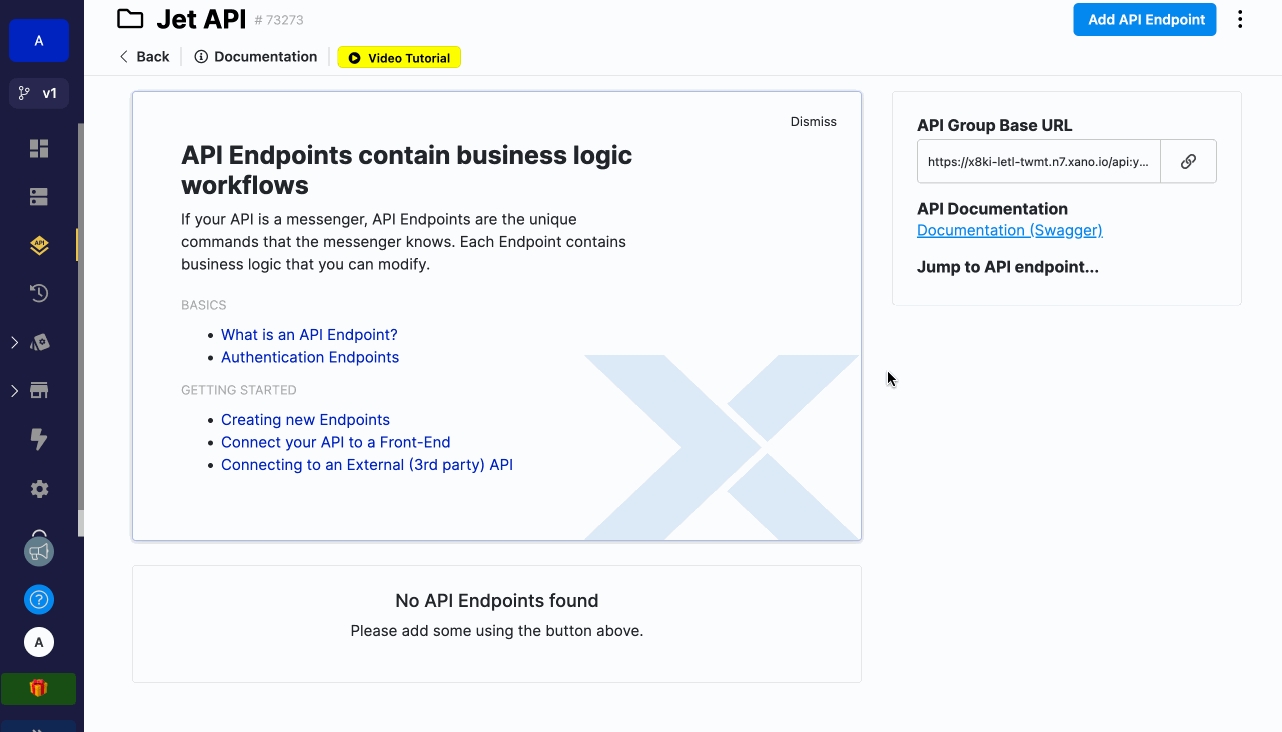
First, go to Add API Group and fill in Name and Description. Next, click Add API endpoint.

Fill the Description field of the API endpoint you want to use in Jet Admin with the following content:
For Get record list API endpoint: Query all TABLE records
For Create record API endpoint: Add TABLE record
For Delete record API endpoint: Delete TABLE record
For Get one record API endpoint: Get TABLE record
For Update record API endpoint: Edit TABLE record
where TABLE is your Xano table name.
Only endpoints with the specified Descriptions will be imported to Jet Admin. For example, if API endpoint – Get record list of Deals, in the Description field: Query all deals records.
Step 1.3: File upload API Endpoint (Optional)
Xano Files attachments are only available in paid Xano plans
It's only possible to upload files to Xano file fields using Xano Files storage. If you have file fields in your Xano database then you need to connect Xano Files storage to Jet Admin. All Xano file fields will use Xano Files storage by default.
Jet Admin will automatically integrate with Xano Files storage if you have Xano an /upload/attachment endpoint when you connect to Jet Admin.
Jet Admin will look for /upload/attachment endpoint to integrate. If you already have it you can skip the following part.
If you don't have an /upload/attachment endpoint then follow these steps:
Go to your API Group
Click Add API endpoint
Create an endpoint by clicking Upload Content -> Upload an attachment -> Save


Once you finish the steps you will have the following /upload/attachment which will automatically integrate when connecting to Jet Admin.

Last updated
Was this helpful?