> For the complete documentation index, see [llms.txt](https://docs.jetadmin.io/llms.txt). Markdown versions of documentation pages are available by appending `.md` to page URLs; this page is available as [Markdown](https://docs.jetadmin.io/user-guide/jet-databases/import-and-export-data.md).
# Import and export data
Bring an existing file into Jet Tables and verify the imported records before using them in an app.
## Before you start
Prepare a **CSV, XLS, XLSX, or JSON** file. For tabular files, use clear column names and consistent values within each column. Keep a copy of the original file so you can compare the result.
## Import a CSV with the assistant
{% hint style="info" %}
The assistant's collection import tool is a development preview. Manual import remains available.
{% endhint %}
1. Attach the CSV to your prompt, either when creating an app or in an existing app's chat.
2. Name the target Jet Tables collection. Say whether the assistant should use an existing collection or create one.
3. Ask the assistant to use bulk file import and specify how you want existing records handled. If the CSV was attached in an earlier message in the same conversation, refer to it by filename.
4. Review the import action details, including the field mapping and the counts of created and failed records.
5. Check the records in the Data workspace before using them in your app.
> Import the attached tickets.csv into the existing Tickets collection. Map Ticket title to Name and Owner to Assigned to. Add the new rows and keep existing records.
The assistant can inspect the file's columns and map them to collection fields even when their names differ. The import tool processes the file in bulk, avoiding a separate assistant create-record call for every row.

If the result reports errors, review which rows succeeded before retrying. Ask the assistant to explain the errors and correct the mapping or source values as needed.
## Import a file manually
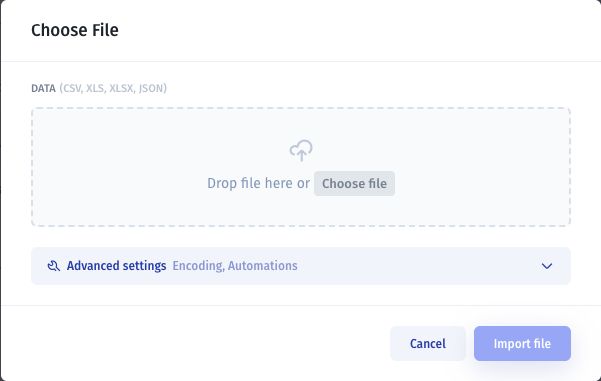
1. Open the Jet Tables setup window.
2. Select **Import from File**.
3. Select **Choose File**, or drag your file into the upload area.
4. Review **Advanced settings** if you need to adjust encoding or automation settings.
5. Select **Import file**.
Choose a supported file, review its settings, and import it.
## Verify the import
Compare the imported record count with the input. Inspect a few records, including dates, numbers, blank values, and text containing special characters. Check that the field types match how you intend to use the values.
If text is garbled, review encoding. If numbers or dates are interpreted incorrectly, check the source format and field configuration before relying on the import.
## Export data
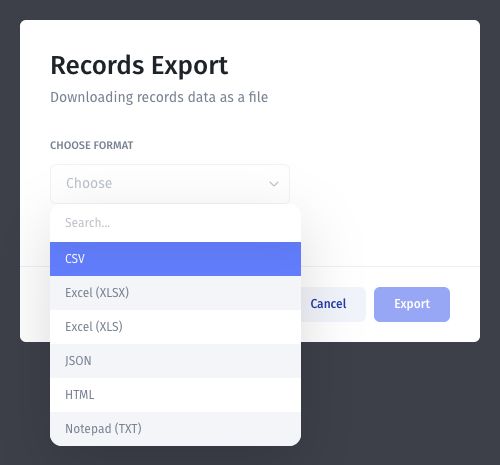
Open the collection you want to export and use its export option. Check which records the export includes, especially when filters are active, and select an available format.
Choose an export format and check which records are included.
Open the exported file and compare its columns and record count with the intended selection. A data export is not an export of your entire app configuration.
Continue with Field types.
---
# Agent Instructions
This documentation is published with GitBook. GitBook is the documentation platform designed so that both humans and AI agents can read, navigate, and reason over technical content effectively. Learn more at gitbook.com.
## Querying This Documentation
If you need additional information that is not directly available in this page, you can query the documentation by asking a question.
Perform an HTTP GET request on the following URL with the `ask` and `goal` query parameters:
```
GET https://docs.jetadmin.io/user-guide/jet-databases/import-and-export-data.md?ask=&goal=
```
`ask` is the immediate question: it should be specific, self-contained, and written in natural language.
`goal` is what the user is ultimately trying to achieve, the reason they need the answer. Sharing it helps GitBook give you a better, more relevant answer. A goal is most helpful when it describes the outcome the user wants rather than restating the question. For example, with `ask=how do I create an API token`, a goal like `automate deployments from our CI pipeline` lets GitBook tailor the answer to that use case.
The response will contain a direct answer to the question and relevant excerpts and sources from the documentation.
Use this mechanism when the answer is not explicitly present in the current page, you need clarification or additional context, or you want to retrieve related documentation sections.